Animated Neopixel Christmas Star
In December, 2019 I was in London enjoying the Christmas lights, and while at Covent Garden I saw a string of animated stars on one of the buildings. I thought it was a nice design and hadn’t seen anything else like it at home. So I added it to my “list of projects to do when I run out of other projects” – which means I’ll probably never get around to it. Two years later, with Christmas a month away, I started thinking about that star again and decided to make time for it. Also I’ve been wanting to learn how to design and order printed circuit boards online, so thought this would make a nice starter project.
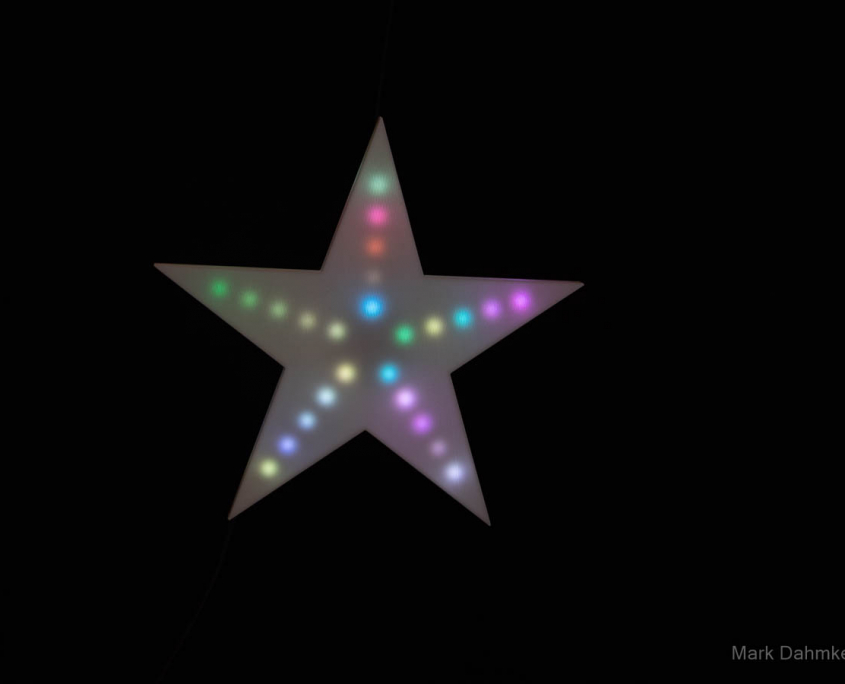

For the first iteration, I designed and 3D-printed the star, then glued the neopixel LED strips to it. The problem is that the center is very crowded and there isn’t much room for hook-up wire to connect power and ground to all the LED strips.
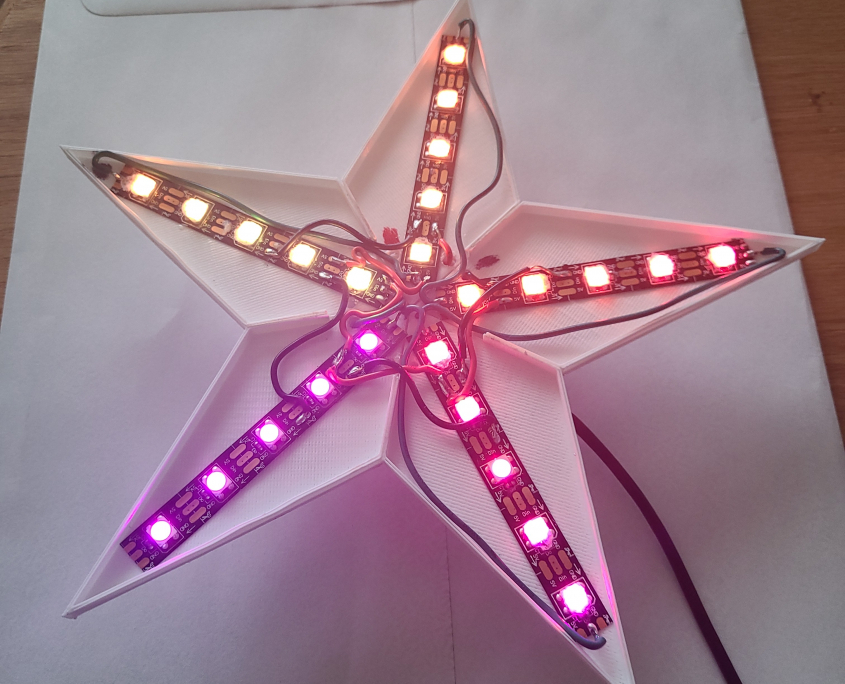
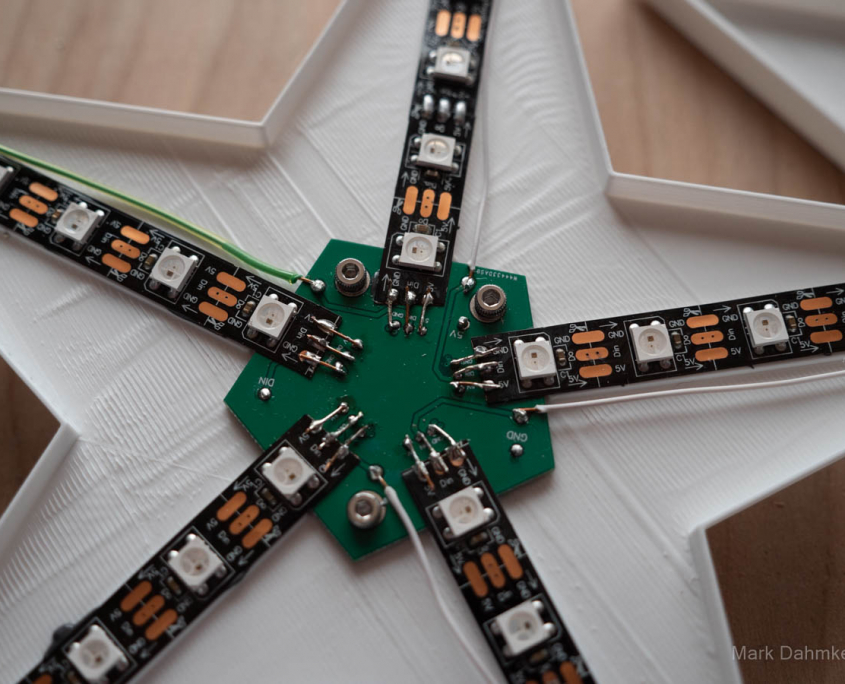
This is where the custom printed circuit board comes in. After watching way too many youtube videos, I decided to go with EasyEDA.com. They have an online circuit board design application that is well… easy. You can create a circuit diagram and then go to the layout page to route the connections for power, ground and data. In the case of Neopixels, they operate as a bucket-brigade, so there’s only one data line that controls all the pixels. But since there are five separate strips, I had to run a wire from the end of one strip to the start of the next, and that’s why it gets rather crowded in the center of the star.
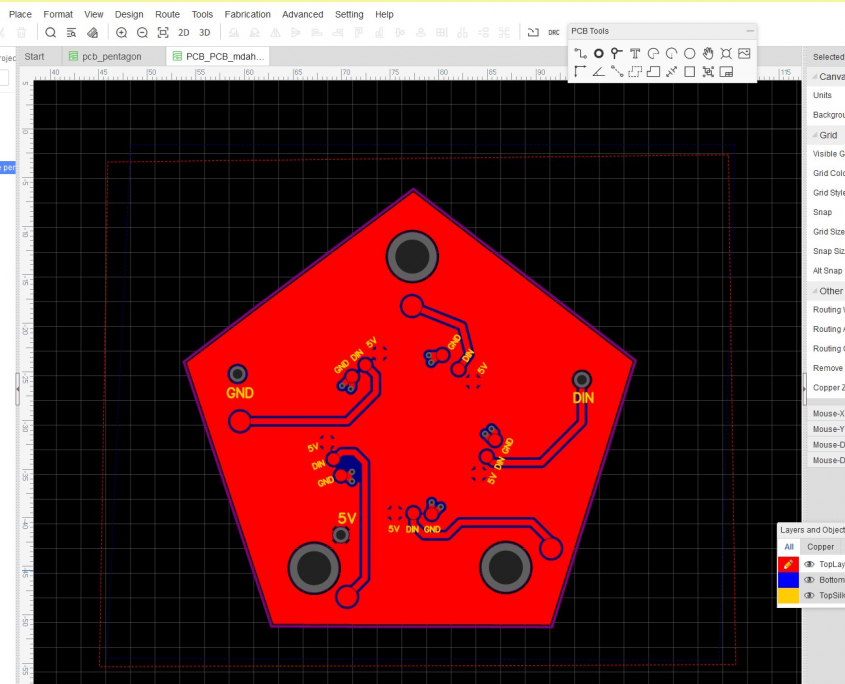
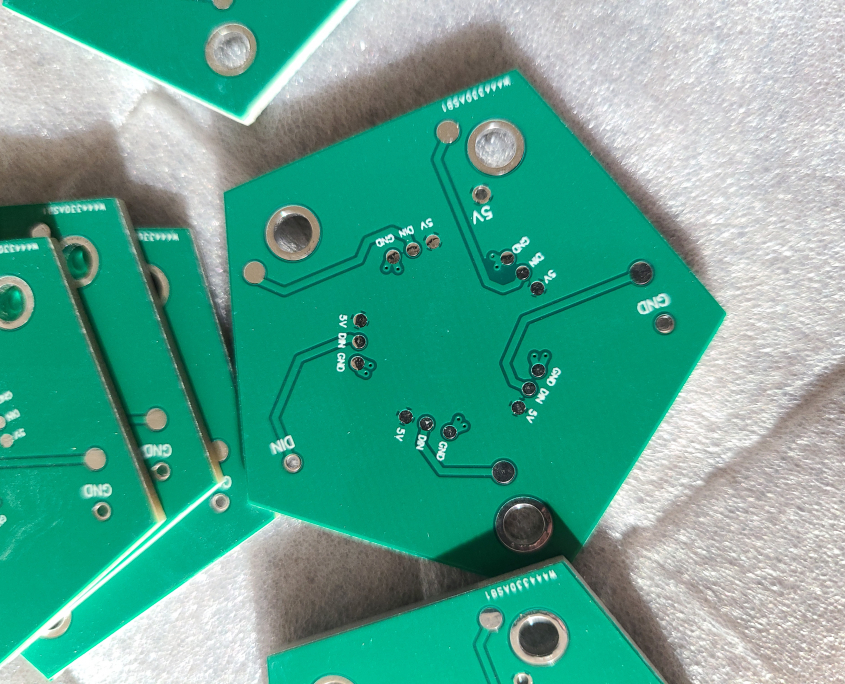
After designing the circuit, you can export it to a standard file format readable by any of the shops that fabricate circuit boards, or you can place the order directly through EasyEDA.com. I decided to go with PCBWAY, so I exported the files and placed the order. Total cost for 6 boards was only $5 plus shipping from China, which is about $24.
Compared to the way we used to make pc boards, it’s sort of like magic. You upload the design, place the order and it’s done in 24 hours. Two days later your boards arrive via DHL.
I use Open SCAD to design enclosures and other items that I need to 3D print. I like it because it’s entirely parametric – if you want a cube or a sphere, you specify objects the way you’d write code, rather than trying to learn how to draw stuff using 3D modeling software.
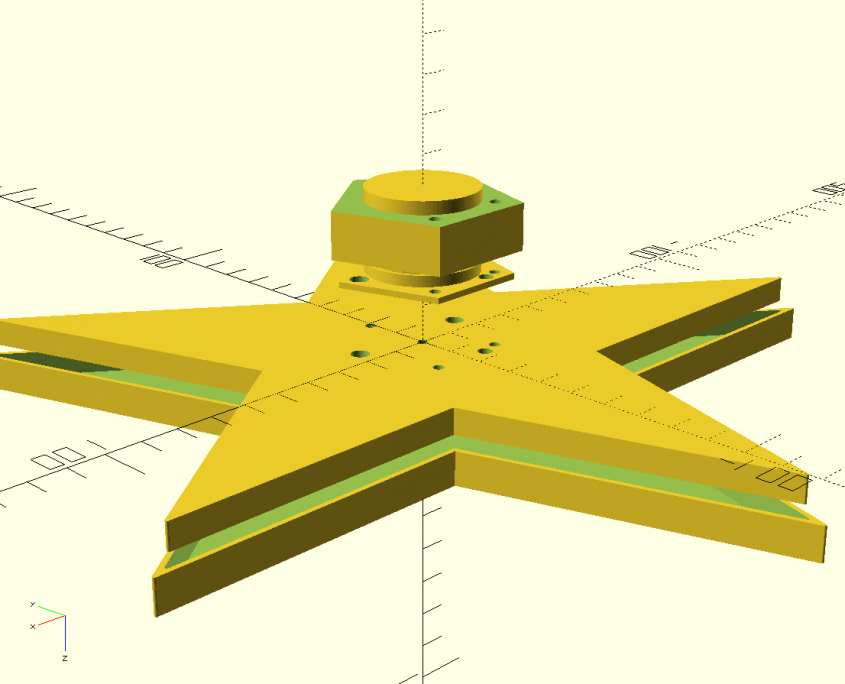
This exploded view shows all the parts of the star. I keep all the parts in one openscad file and then export each part separately to an STL file to be printed.
The STL file is loaded into a “slicer” which prepares the design for printing. That file is written to an sd card which is inserted into the 3d printer.
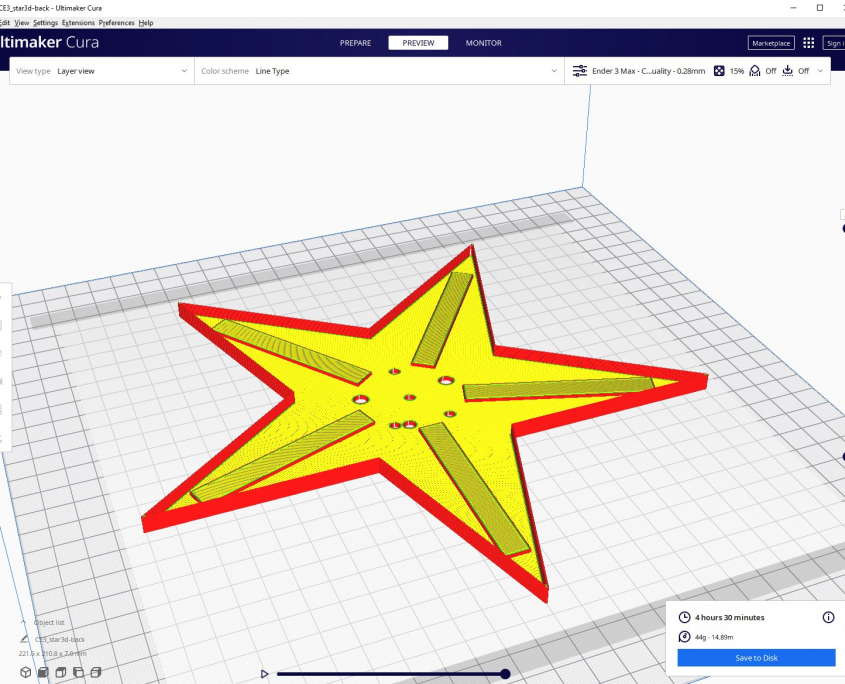
Next, the custom circuit board is mounted at the center of the star. I used 2.5mm screws to attach it to the back, and then on the reverse side, I mounted a plate that holds the processor board.
The Neopixel strips are glued to the star using epoxy. Note that there are risers on the star that match the thickness of the pc board, so the strips are at the same level as the surface of the board.
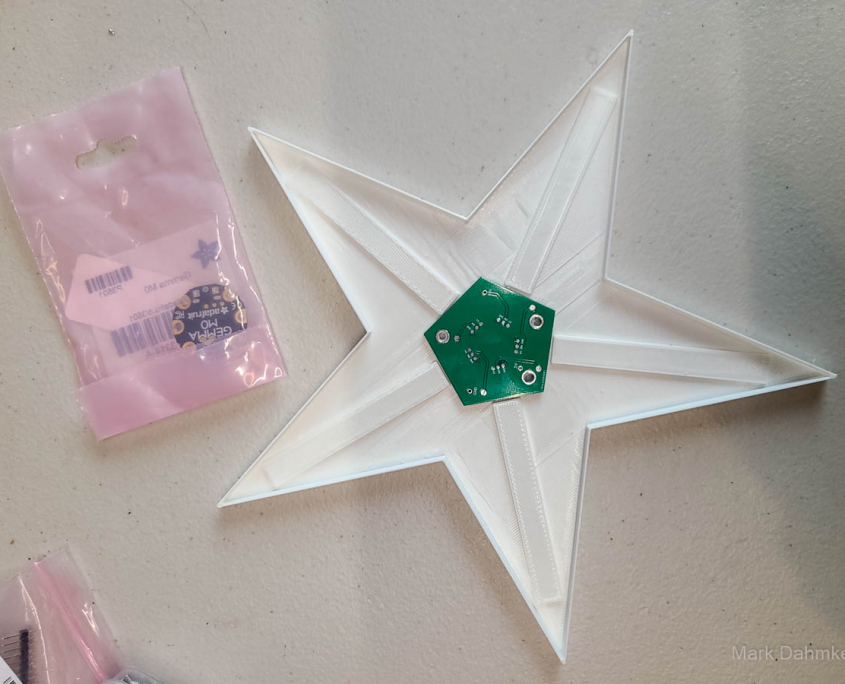
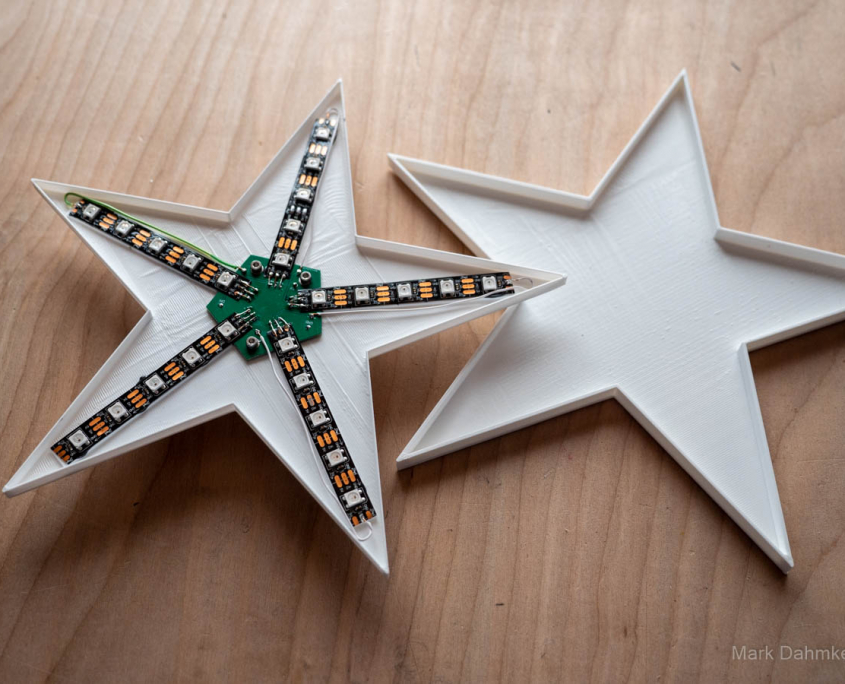
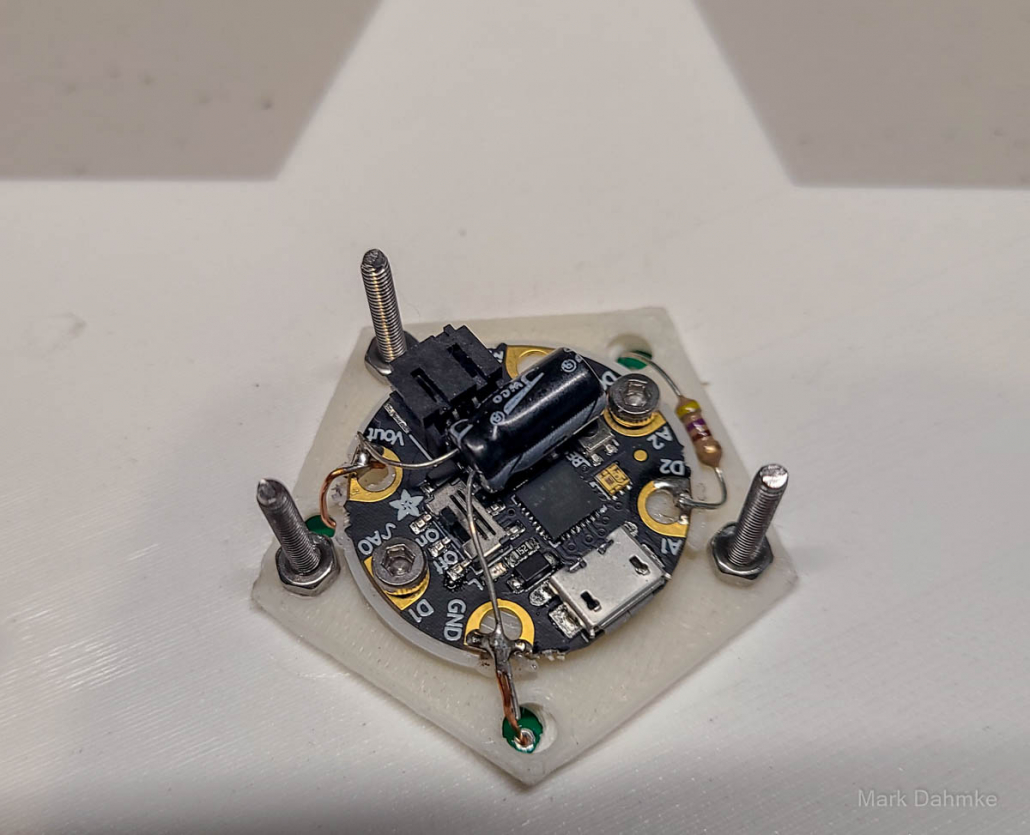
The processor is mounted on the back of the star. I added holes to feed +5v, ground and the data line through to the custom circuit board. The processor is an Adafruit Gemma M0. I chose it because it’s round, has the smallest footprint of any of the Arduino-compatible boards, and is only $10.
I used the FastLED library, which supports a wide variety of neopixel LEDs. For testing purposes I used their color palette animation sample code.
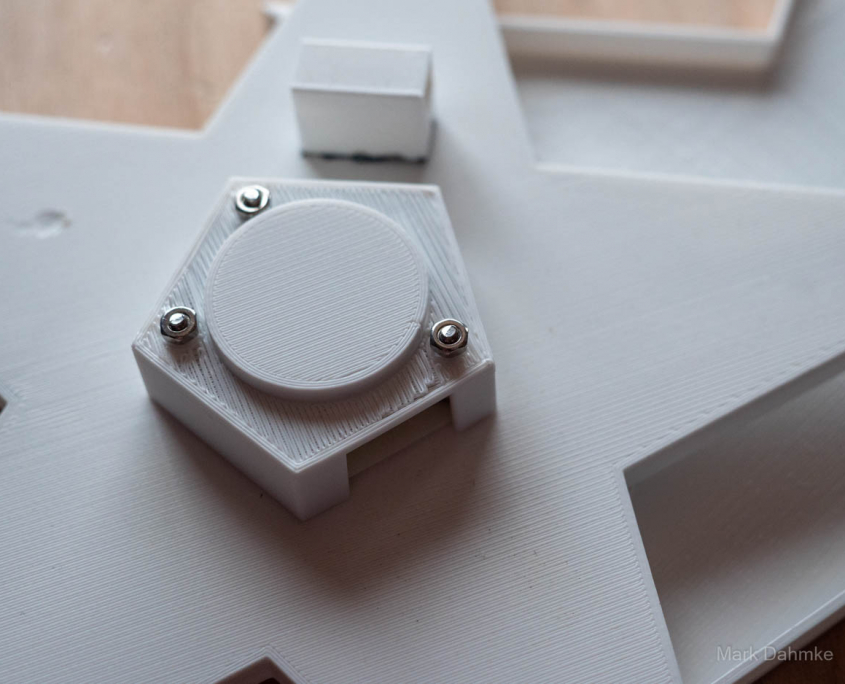
I also printed a cover for the circuit board but left an opening for the micro USB connector, to power the star. The small rectangular block on the back of the star is just an attachment point, if you want to hang the star on the top of a Christmas tree.
Here’s a short video showing the star both without and with the cover.
