Instantaneous 3D Model Capture
By Mark Dahmke
When Autodesk announced the availability of their 123d Capture app for the iPad, I tried it, but quickly discovered that I couldn’t capture images of moving subjects – my cats. In mid-2012 I put together a test with 3 cameras – two DSLRs and an HP point and shoot camera. I used a remote trigger to simultaneously trigger the DSLRs but had to manually trigger the HP. Also I discovered that I needed more consistent lighting – and needed to use a flash and a very short exposure, to improve depth of field and get more consistent results, especially for subjects that move.
After those experiments I gave up on it for a while, then in mid-2013 decided to try again. This time I used Canon Powershot cameras with custom firmware from the CHDK project. The version I used was Stereo Data Maker because it allowed for very precise synchronization of multiple cameras. My first “proof-of-concept” tests started with three and later six cameras. I also ran some tests on static subjects to determine the minimum number of shots it would take for the 3D capture software to be able to produce a good model. I then scaled up by building a support rig from PVC pipe, added flash units and started experimenting with lighting and camera exposure settings.
The goal of this effort was to be able to capture all the images with an accuracy of at least 1/125 second, to freeze motion. The flash fires in about 1/1000 second and the cameras must fire plus or minus a few thousandths of a second from when the flash units fire.
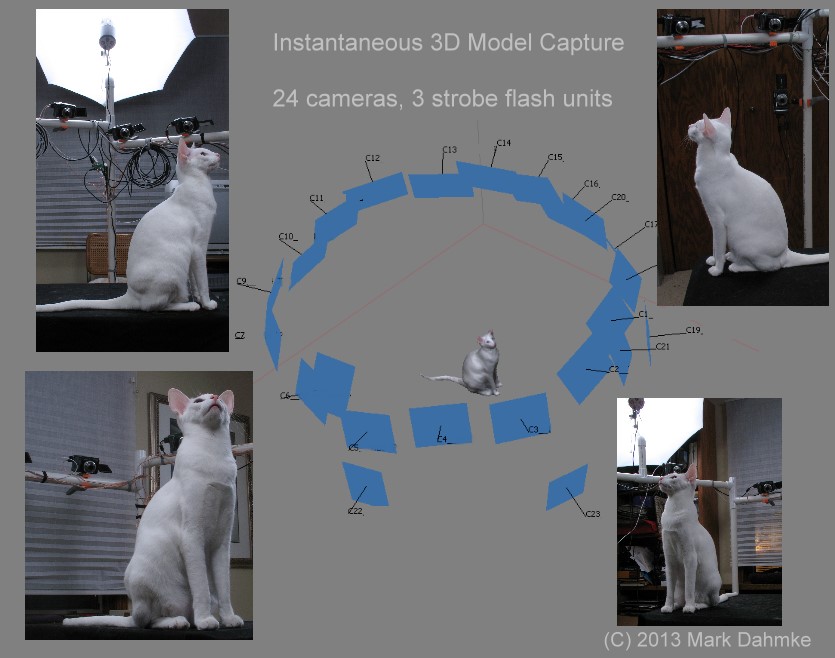
The 24 images are then imported into Agisoft’s PhotoScan which will generate a 3D mesh and surface texture. After much experimentation, I found that PhotoScan produces much more accurate models and is more feature-rich than the web-based 123D Catch. Also PhotoScan supports masking which significantly improves the accuracy of the 3D capture.
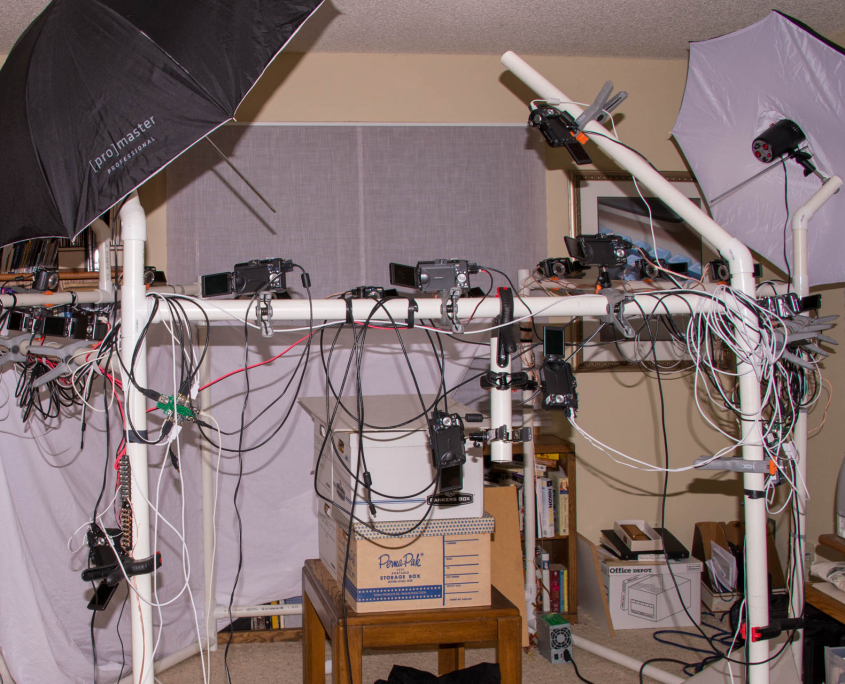
This is the second iteration on the camera and lighting support rig. I stacked boxes on an end table in the center and then waited for one of my cats to jump up there to investigate. Then I’d get her attention with a cat toy and start shooting.

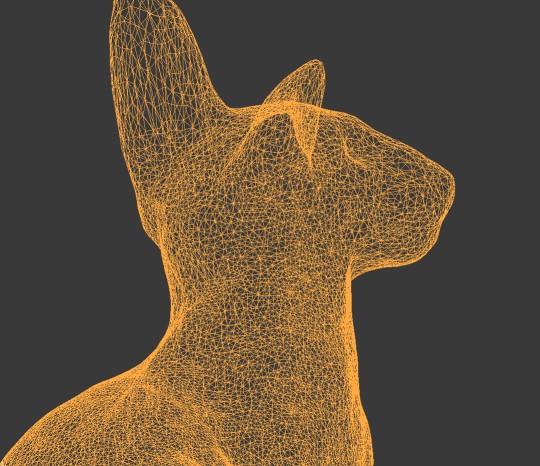
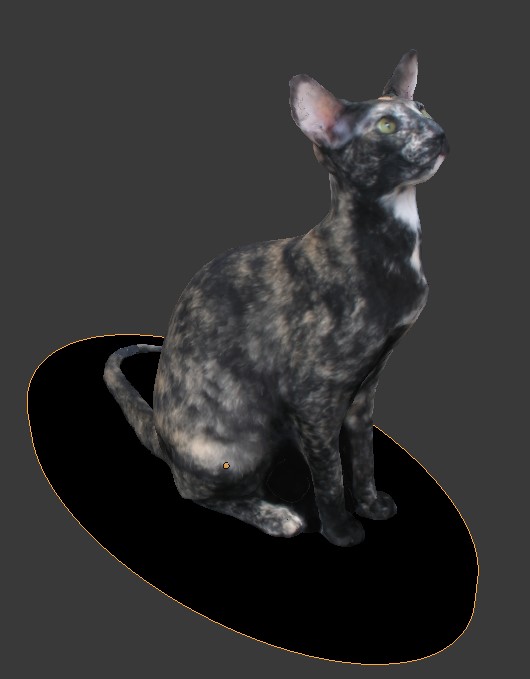
After the model is generated in PhotoScan, it is imported into Blender for hand editing and smoothing. The sculpt tool is used to smooth the surface and fix problem areas that PhotoScan could not handle, such as ear tips.
Often PhotoScan gets confused by details such as whiskers, so it’s necessary to edit the models by hand.

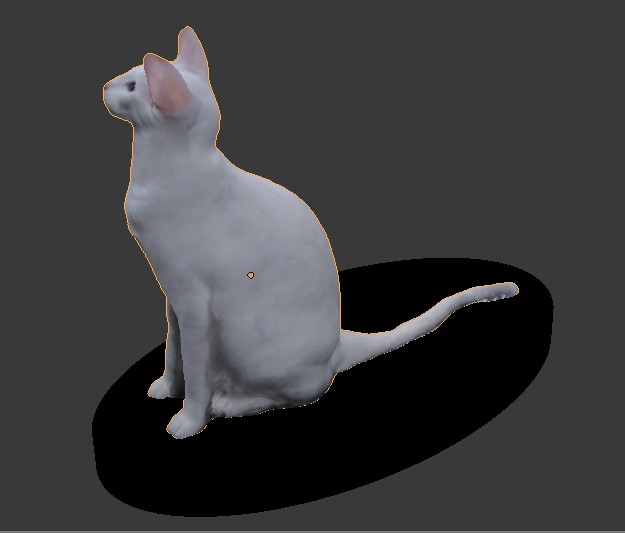
The model is also cropped to remove artifacts and a solid base is added. Since the cameras can’t see the “bottom” of the subject, PhotoScan makes an attempt to close the surface to make a solid model. I use a boolean operator to either remove the bottom and make a flat surface, or in this case add an elliptical base.
The resulting model is exported as an X3D file, along with a JPEG for the surface color/texture. Models can then be uploaded to a service bureau such as shapeways.com for printing.
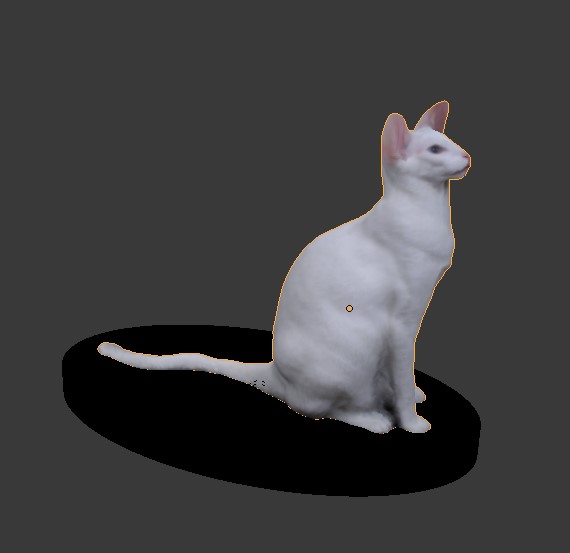
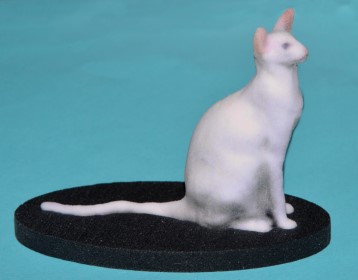
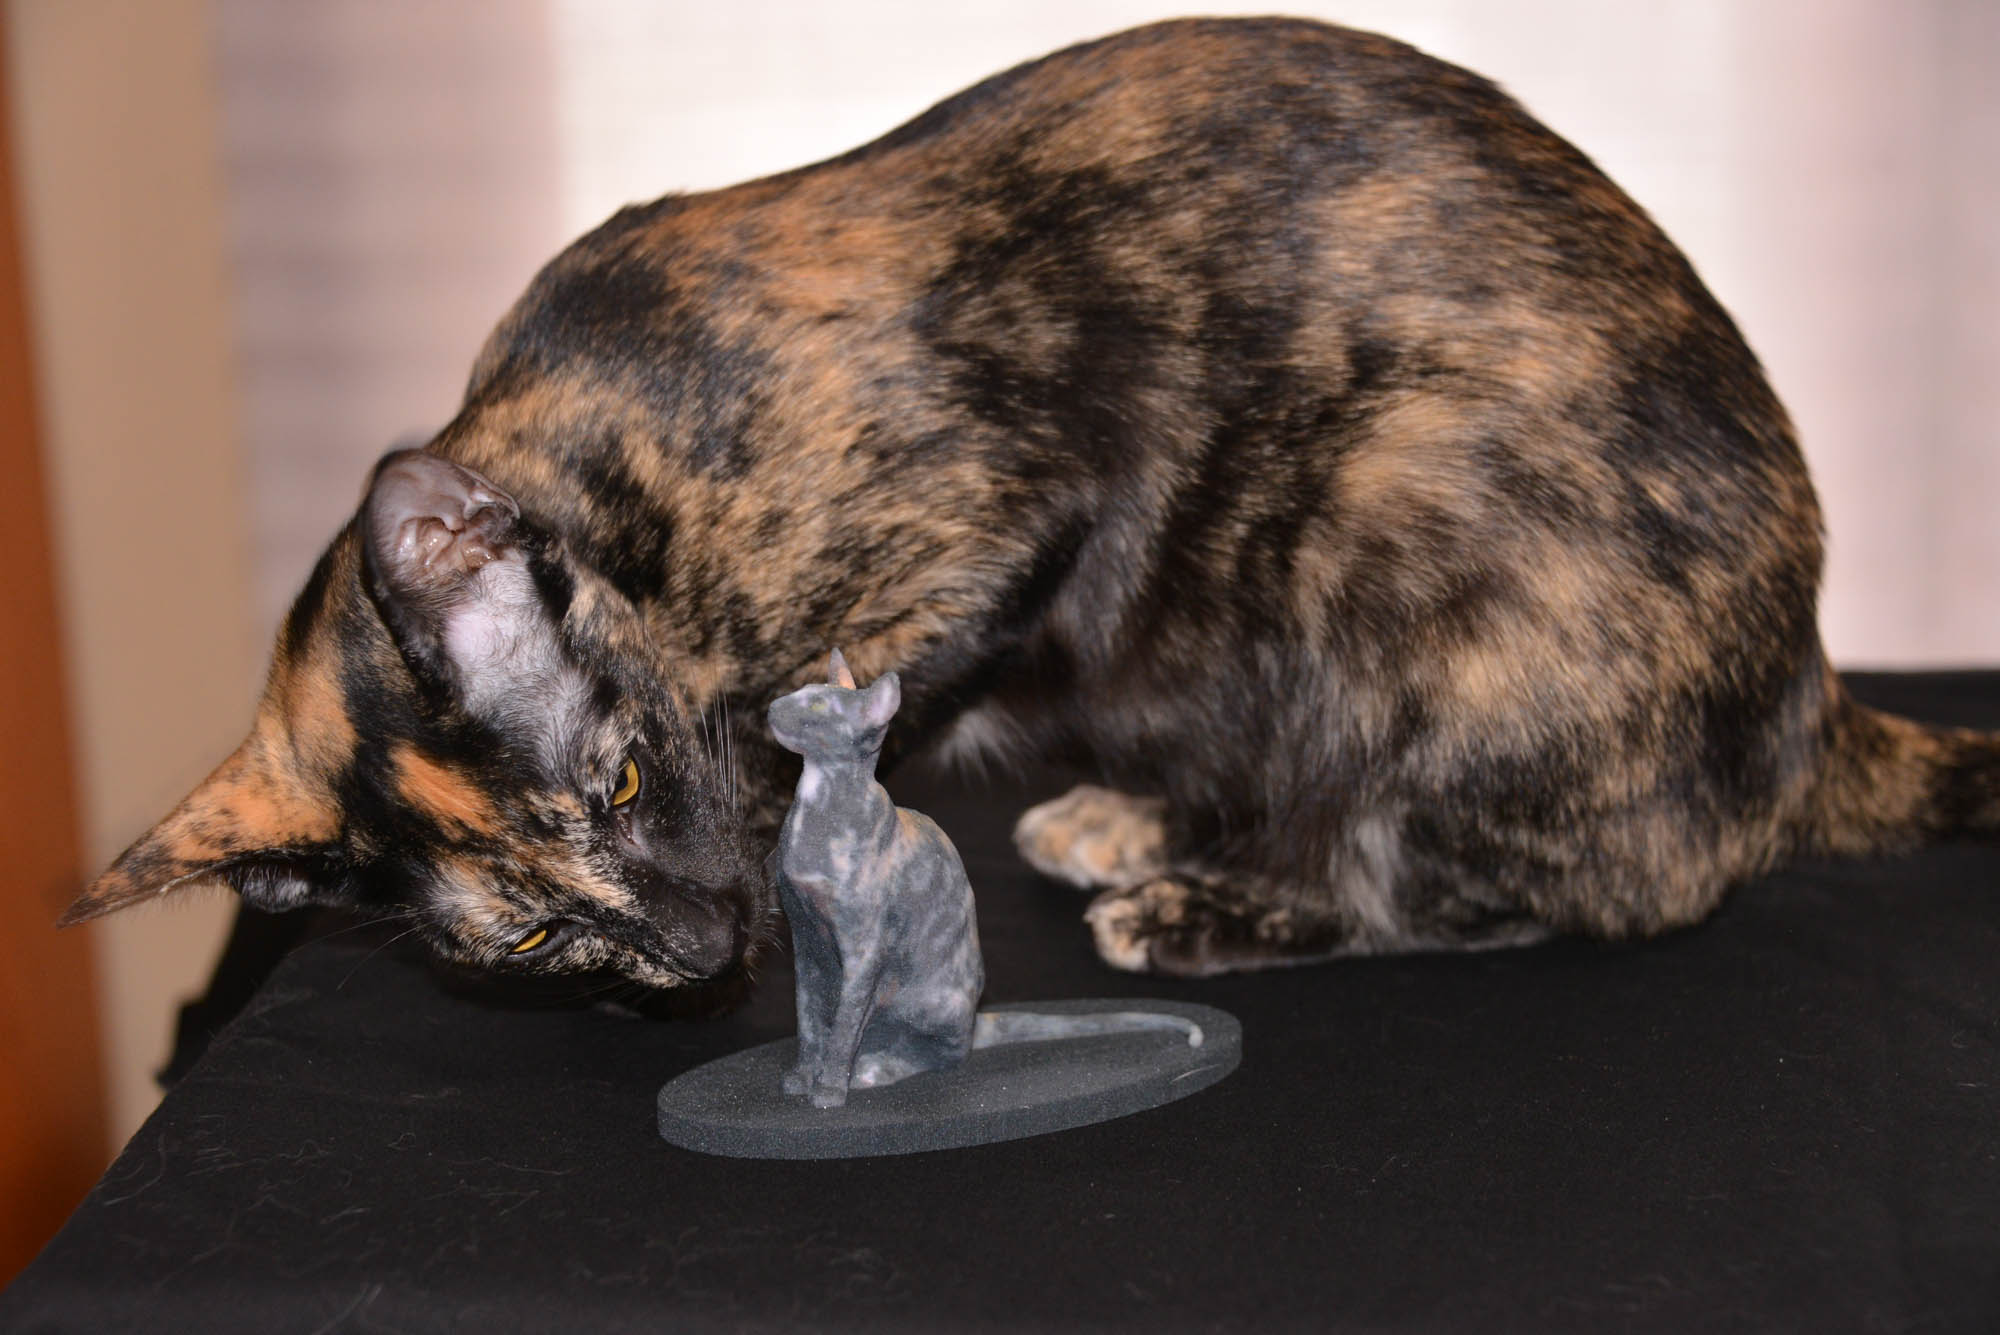
Here’s the test model printed in full color sandstone. Models can also be printed in various plastics and can be printed in bronze, silver, gold plated brass and other metals. I sent them to Shapeways to be printed, since my low-cost PLA printer will only print in one color at a time.
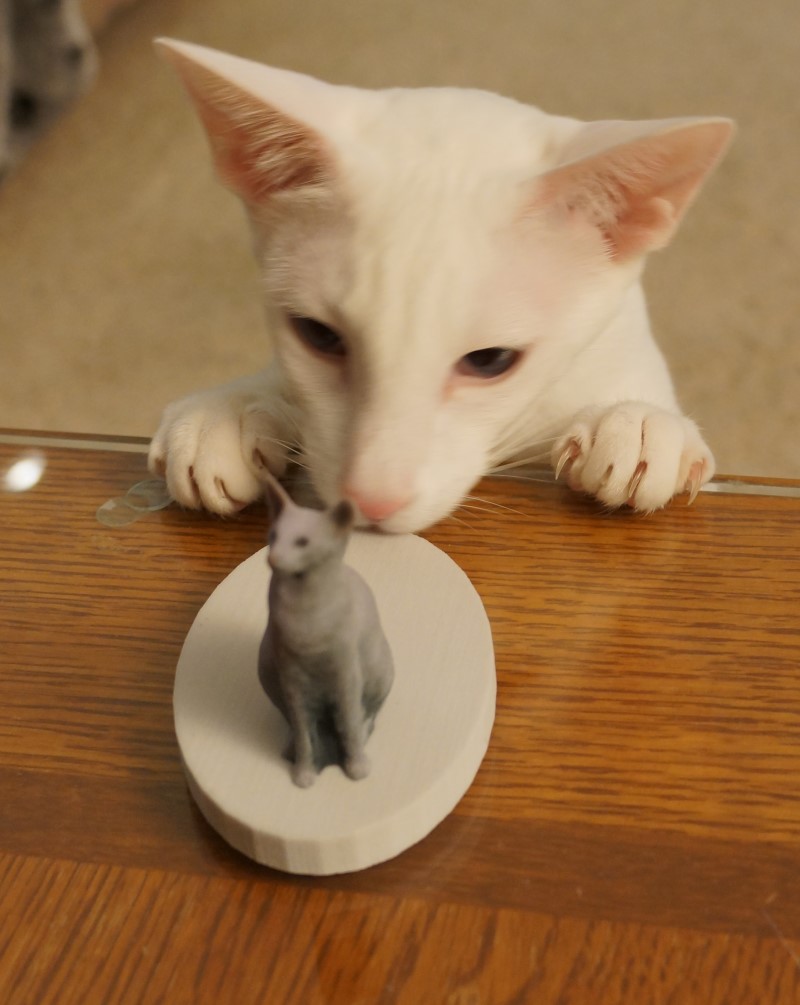
Here’s a photo of Solia inspecting my work. Note that in the sample prints shown below the models came out dark gray. Adjusting the color palette of the texture applied to the 3D model is difficult because it’s dependent on the type of material you’re printing with. The best method I’ve found is to order a test sample with a range of colors or print one of the Shapeways models in their store that shows a complete color palette, and use that to adjust my model.
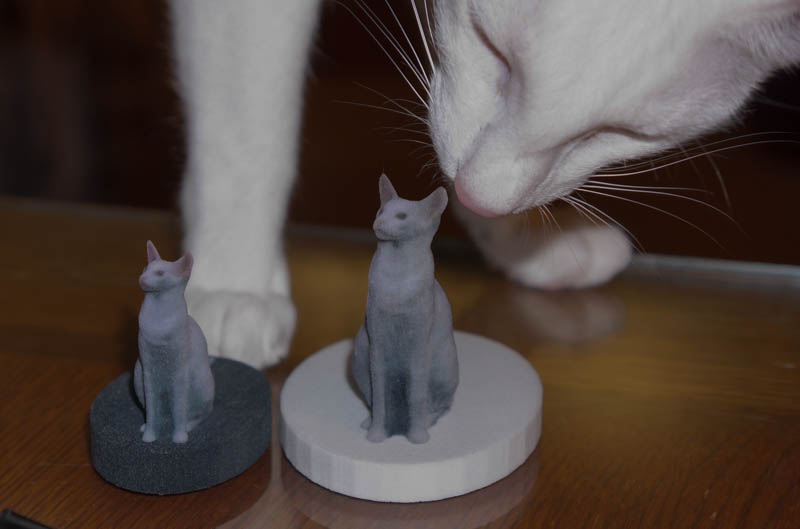
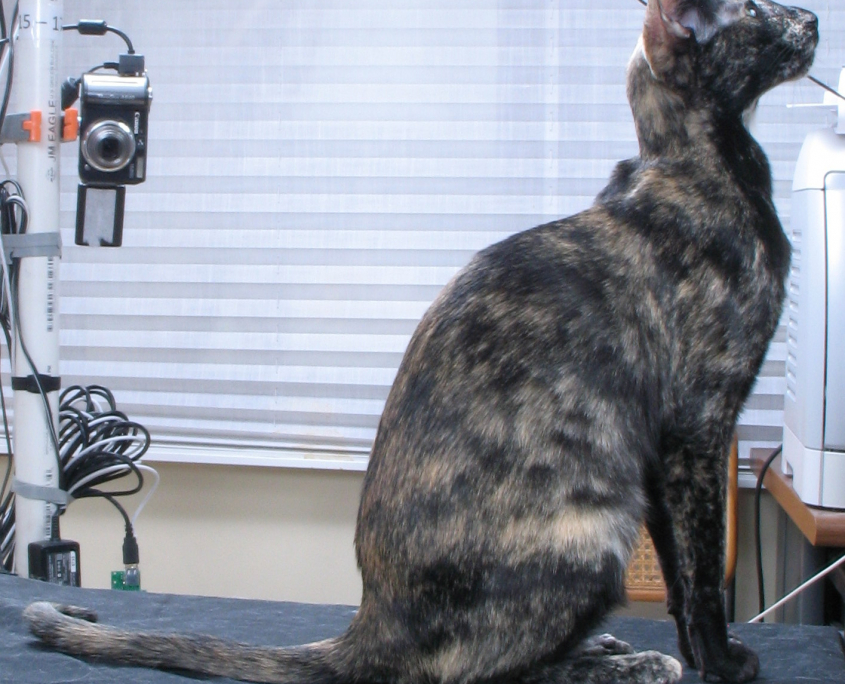
Here’s another model – and the result in Blender. This one was much better. I usually had to do about 10 sessions per cat to get one clean 3D model. Cats just don’t want to sit still for some reason.
And a photo of the model checking out the model.
Copyright 2013-2014 Mark Dahmke. All Rights Reserved.
